Let’s do an Apple Taste Test for National Apple Month! Apples are also an OrganWise Guys Foods of the Month for October, and the perfect food for the fall season. Apples are such a versatile food that can be used in anything from salads to desserts and they come in so many delicious varieties!
Chew on this interesting apple trivia:
Americans eat approximately 120 apples apiece each year!
Apples are nutritious because they contain lots of fiber, vitamins C, B6, and A, and potassium, as well as antioxidants.
2500 known varieties are grown in the United States.
36 states grow them with Washington, New York, Michigan, California, Pennsylvania, and Virginia being the top production states.
Apples are available all year round and are a perfect take-along snack anytime!
Apples don’t require peeling so eat the skin because it contains healthy nutrients.
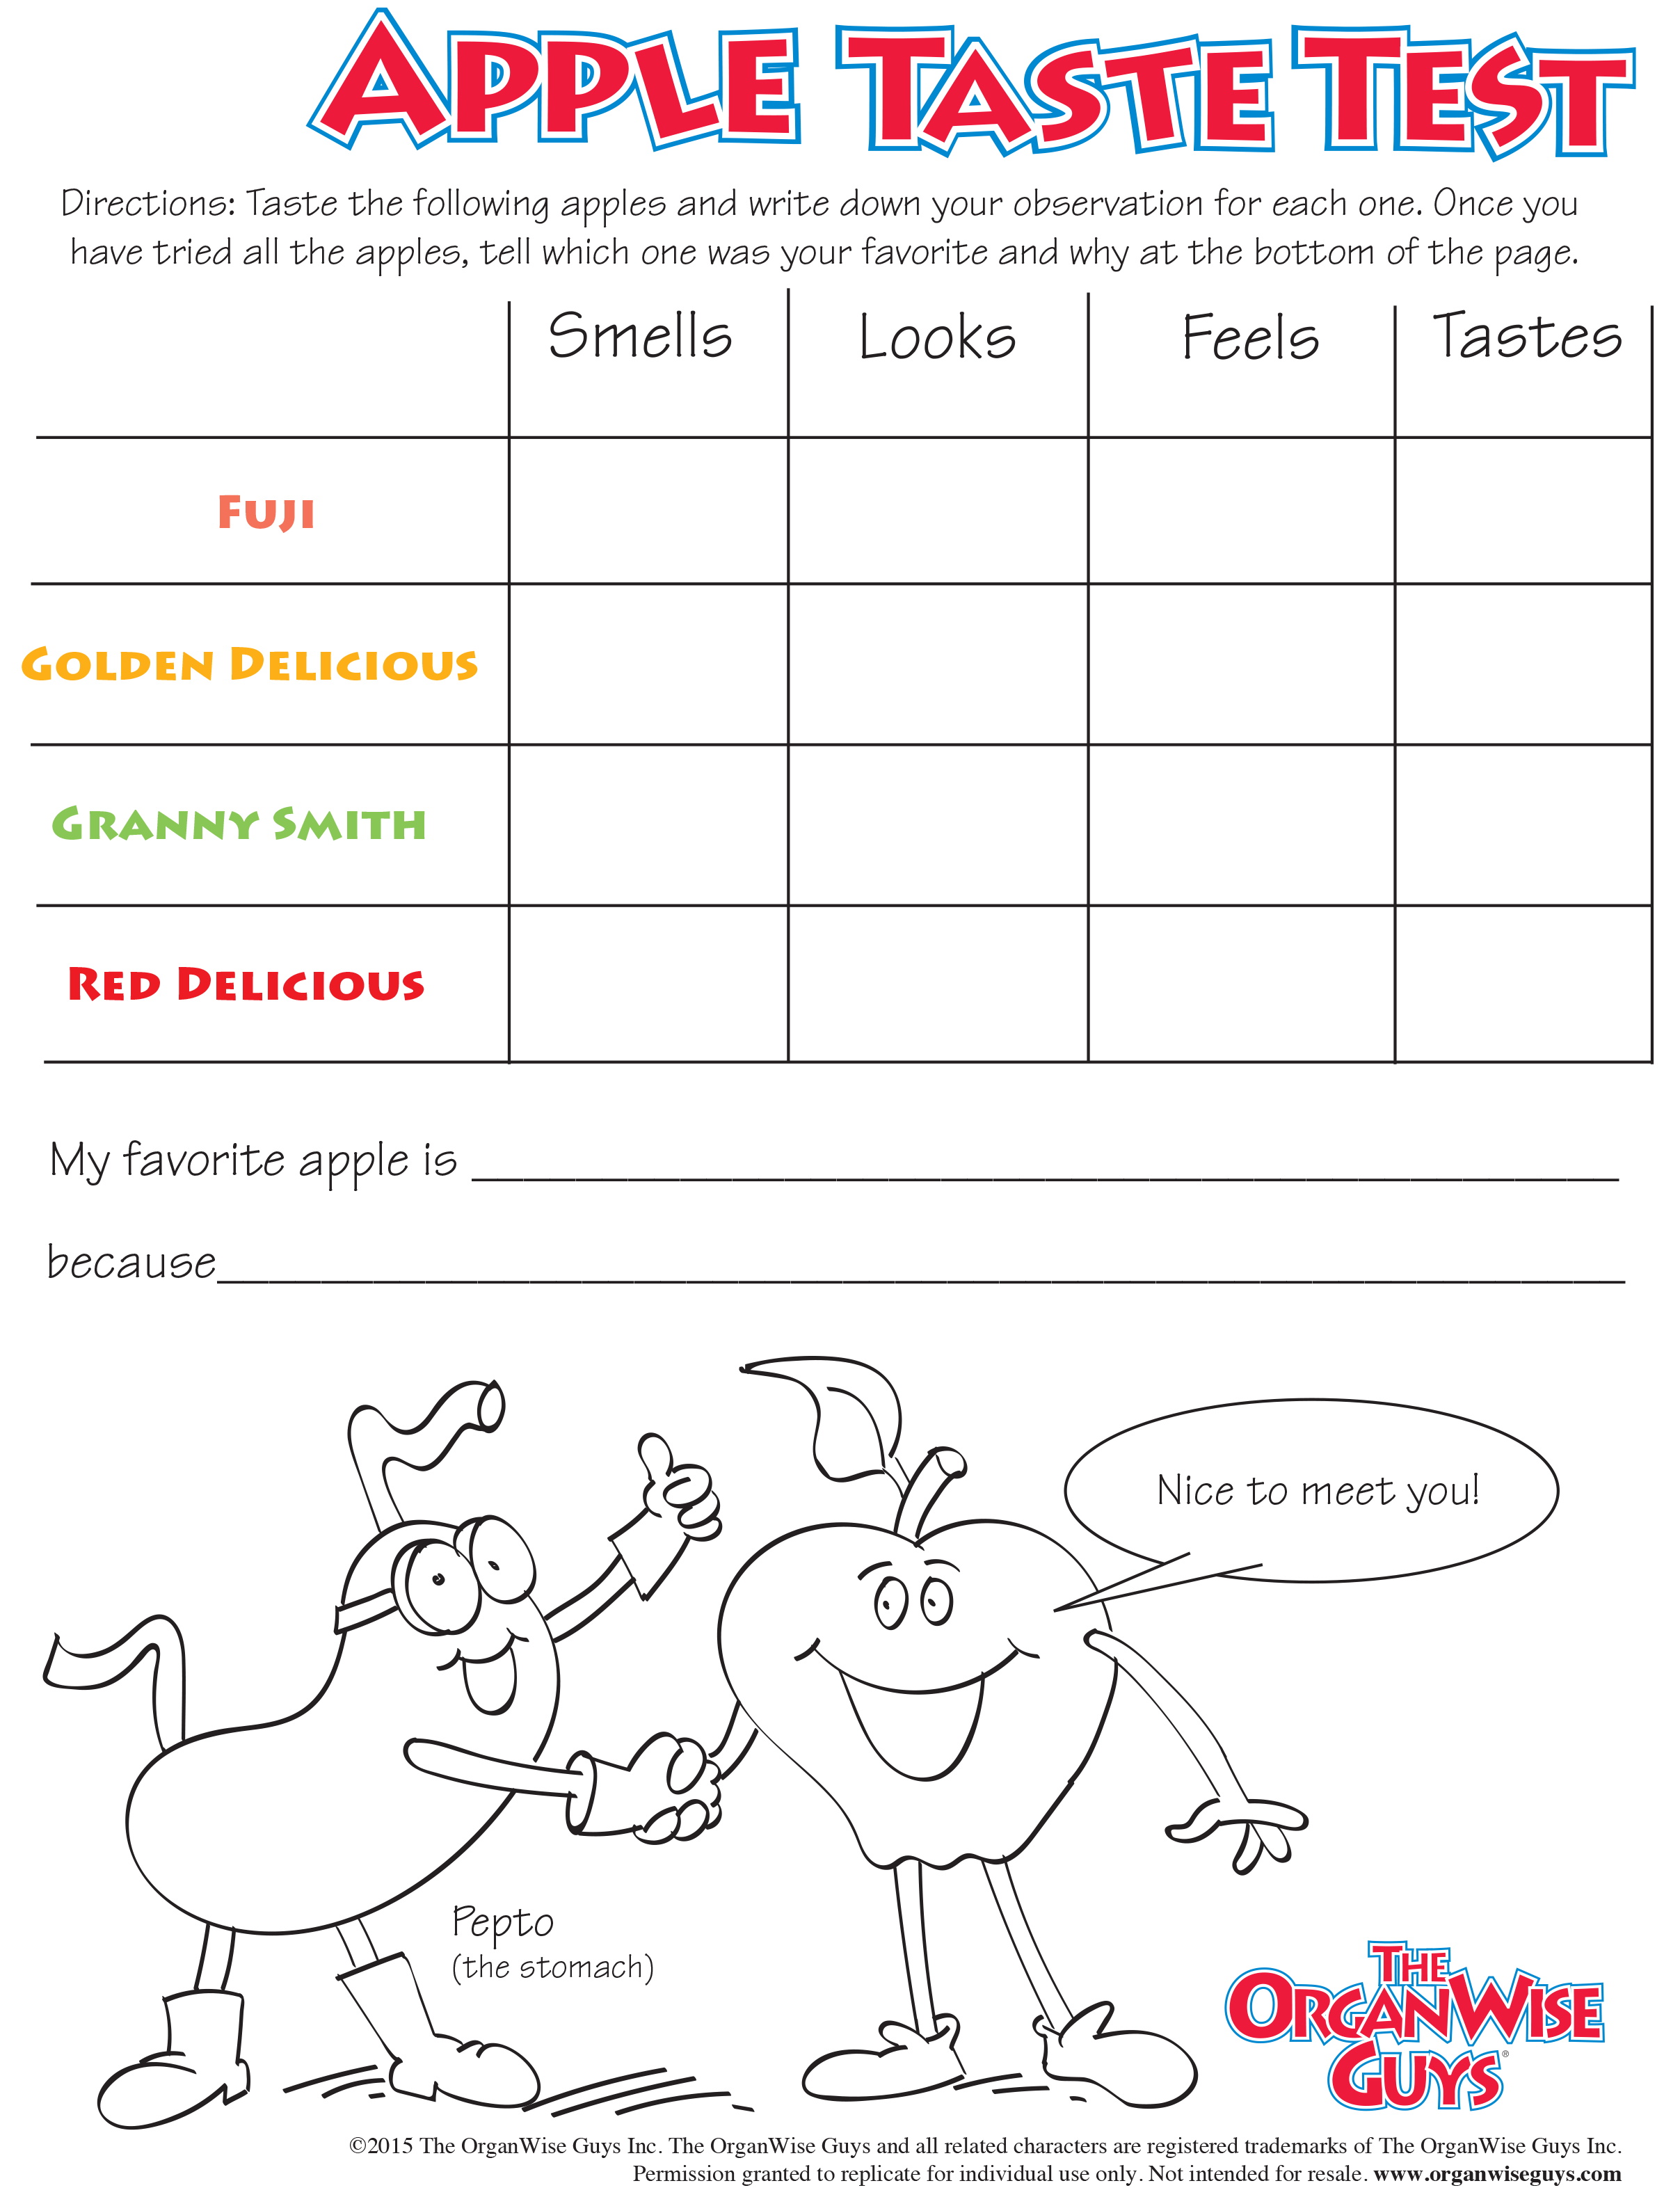
A taste test is a really fun way to encourage kids to try a small sample of a new food where they may typically be more close-minded about trying new things. This interactive apple taste testing worksheet will help you introduce several different apple varieties and let’s them provide feedback.
We would love to hear about your at-home taste tests! Share with us how it went and include any pictures of the finished worksheets on our Facebook page!
Did you know that you can substitute whole wheat flour for white flour when baking? What better time that September, when whole grains are a Foods of the Month, to try this out?!
ICYMI, whole wheat is a subset of whole grain that strictly applies to wheat products. So when a product is labeled whole grain, it means that it includes the entire kernel of the grain – including the outer bran layer, the germ (the part that can sprout into a new plant), and the inner, starchy endosperm. Refined grains, on the other hand, only include the endosperm; that’s why whole grains generally take longer to cook.
One of our favorite ways to get more whole grains (organic is best) is by swapping out white flour for whole wheat flour in pizza dough. The great thing about making your own pizza dough is that you can make a big batch and store it in the fridge, to create various healthy dinners throughout the week. To make whole wheat pizza dough, we recommend using half whole wheat flour and half white flour in your favorite pizza dough recipe. By leaving some white flour, the dough is not too dense, but you still get the fiber benefits of whole wheat flour. Combine your flour with yeast, hot water, a little salt and sugar, some extra virgin olive oil and mix thoroughly.
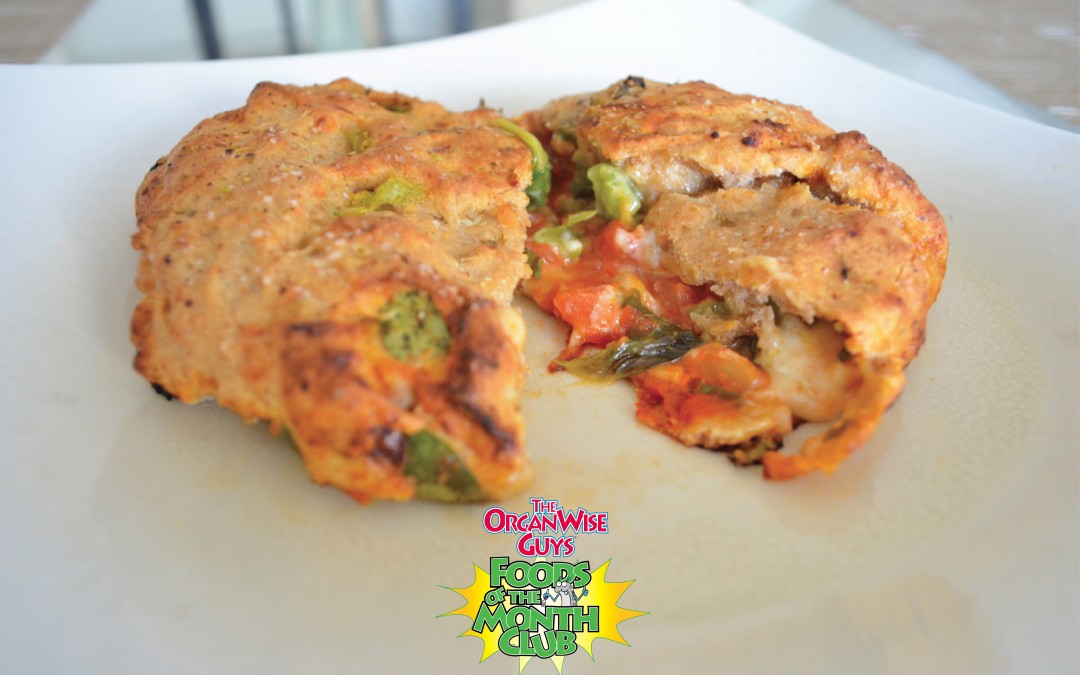
Now, what to do with your healthy homemade pizza dough? Get a little more creative than a regular pizza and try making a calzone or Stromboli! To make these traditionally fatty dishes healthier, spread a thin layer of tomato sauce on the dough, add organic cheese, and then top with tons of veggies like tomatoes, peppers, onions and spinach. Carefully roll it up, and put in the oven at 375 degrees for 35 minutes. Enjoy!
If you’re looking for a low-carb, high-fiber alternative to the old fan-favorite, pizza, try mini zucchini pizzas! The summer squash, zucchini, is an August Foods of the Month because it is in-season and ripe for the picking (so it’s at peak flavor)! Zucchini contains so many fantastic nutrients such as vitamin A, magnesium, folate, potassium, copper, and phosphorus as well as a high content of omega-3 fatty acids, zinc, niacin, and protein. Click here for more incredible benefits!
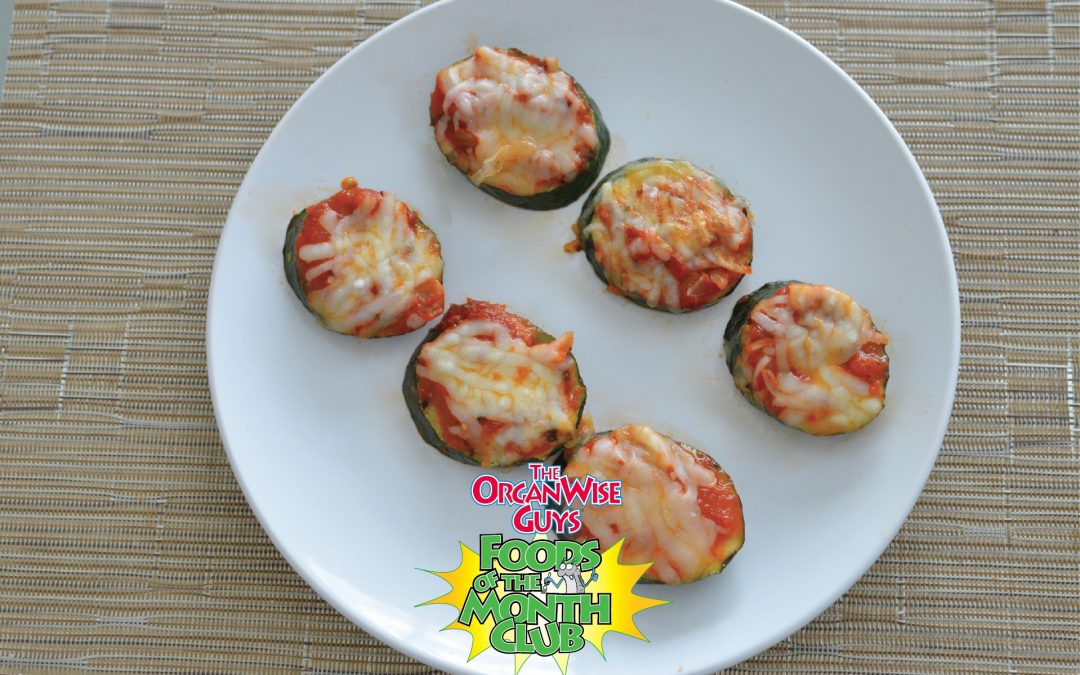
To make this simple recipe, slice zucchini into rounds (or if you prefer, lengthwise), place on a baking sheet and then grill or broil for several minutes until the zucchini begins to soften. Remove from the oven and top with tomato sauce, mozzarella cheese and any other topping you’d like. Try nitrite-free turkey pepperoni, olives or your favorite spices to make each ‘slice’ unique! Continue to broil until the cheese begins to bubble and serve hot.
Mini Zucchini Pizzas are a fun way to get your pizza fix and your veggies all in one!
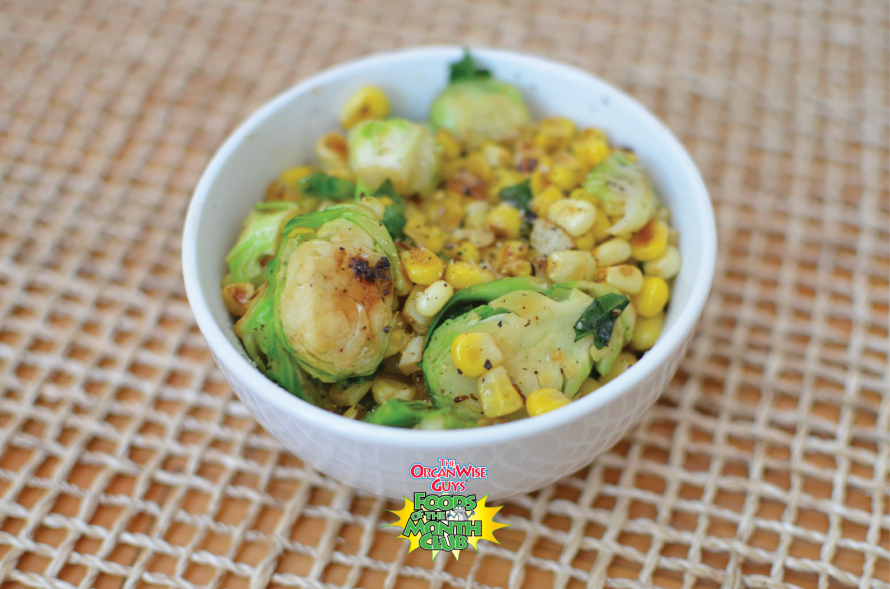
Corn is a July Foods of the Month! Health benefits of corn include fiber and antioxidants, which our OrganWise Guys love. Also, corn is tastiest in the summer because it is fresh. Be sure to pick up some fresh (non-GMO) corn, which is the best value, from your local grocery store this summer to make these tasty corn side dishes for your next get together: (more…)
Cool off this summer with refreshing, 100% tropical fruit Popsicles! The fruits found in this recipe provide replenishing vitamins (like Vitamin A, C and K) and minerals (like potassium) for all your outdoor activities … and that’s why tropical fruits are a July Foods of the Month! Enjoy the tropics in your own backyard with this guilt-free hot weather treat!
Ingredients
2 cups coconut water
1 medium banana, sliced thin
1 kiwi, chopped into little pieces
1/2 pineapple, chopped into small chunks
(Optional – Squeeze a little grapefruit or orange into each mold.)
Directions
Fill your Popsicle molds* with coconut water to about 3/4 of the mold, leaving extra space for the fruit. If you do not have molds, use a small paper cup and Popsicle sticks.
Carefully drop the fruits into the molds so the coconut water doesn’t spill. Fill the molds with more coconut water, if needed.
Freeze overnight, or at least 4 hours.
Remove Popsicles from their molds (you may need to run them under hot water to loosen them) and enjoy!
*To make these Popsicles as fancy as they are tasty, check out this fun list of molds from realsimple.com!
Spinach is for more than just salads and dips! Besides adding spinach to these dishes, did you think it was possible to put spinach in baked goods? Adding spinach to breads and pastas not only enhances the nutritional profile of these foods, it’s also incredibly easy. We’ll tell you how with this simple recipe for Spinach Hamburger Buns…
You’ve probably eaten a wrap sandwich on a spinach wrap or green pasta before, right? If so, you’ve tried a baked good made with spinach. When you make these things at home, you can guarantee that you are getting a really healthy dose of spinach in your bread product. Also, you know that there are no artificial colors or flavors added, which can be an issue with store bought items.
This recipe for Spinach Hamburger Buns has an entire package of spinach in it! When spinach is cooked and steamed, it packs down considerably. So, even though these Spinach Hamburger Buns don’t have an overly spinach-y flavor, they are full of all the vitamins and minerals that make spinach a super food. Don’t forget that there is also a big serving of iron in these Spinach Hamburger Buns too. Follow the recipe below to make these green beauties for your family.
1 10 oz. box frozen chopped spinach (organic if possible)
2 tbsp. butter, room temperature
1 egg
3/4 cups warm water
3 1/2 cups all purpose flour
3 tbsp. cup sugar
1 1/2 tsp. salt
1 tbsp. active dry yeast
For the Topping
1 egg, beaten
1 tbsp. sesame seeds
Instructions
Thaw spinach according to directions. Let cool then use a towel to squeeze out all the excess moisture.
Use a stand mixer or bread machine on the dough setting to make the dough.
If using a bread machine, add ingredients according to manufacture's instructions and set to dough setting.
If using a stand mixer, first combine wet ingredients (spinach, butter, egg and water) until incorporated.
Mix together dry ingredients in a separate bowl and add them to the wet ingredients, until a sticky dough is formed. Add more flour if the dough is too sticky to handle.
Remove dough, and form 8 small, slightly flattened balls on a baking sheet lined with parchment paper.
Cover and let rise for 1 hour.
After the dough has risen, brush with the beaten egg and top with sesame seeds. Bake at 400 degrees for 15 minutes. Serve hot with a lean ground beef burger or salmon filet!
We are back with part two of our egg sandwich lunch ideas! Last week, we featured a Simple Egg Sandwich recipe. This week, we have a two for one special. This recipe for Egg Salad with Spinach features both of our May Foods of the Month, eggs and spinach! This yummy recipe can be made using the same hard boiled eggs that you made last week. If you cooked them up in bulk, you will have plenty to supply this Egg Salad with Spinach recipe.
The combination of egg and spinach is usually found in breakfast foods like omelets. But, since spinach is a powerhouse of nutrients, we think that it should be added to dishes whenever possible. Thanks to the spinach in this recipe, you get a good serving of Vitamin A as well as some fiber. Also, don’t you think that the green color makes this recipe extra beautiful? We do! Spinach and eggs really do go together so well. We always have a container of fresh baby spinach leaves in our kitchen to throw into recipes like this Egg Salad with Spinach sandwich, as well as other sandwiches and salads. In addition to the nutritional benefits of spinach, these fresh leaves also add a nice crunch to any meal.
To hard boil the eggs, use a small pot to boil just enough water to cover the eggs. Carefully (we use a spoon) add the eggs to the boiling water and cook for 12 minutes. Let cool then peel.
Use a mixing bowl and spoon to mix together the spinach, mustard, mayonnaise and salt and pepper. Add the whole hard boiled eggs, and use the same spoon to break them up inside the spinach mixture (they will be soft enough that a spoon can easy break them). Mix well to combine all ingredients.
Transfer the mixture to each piece of toast and enjoy open faced like the photo or eat like a regular sandwich. Enjoy!
Are you in a deli meat lunch rut? If your daily turkey and cheese sandwich habit is getting boring, try having eggs for lunch! Typically a breakfast food, eggs are also an excellent idea for lunch. In May, eggs are a Foods of the Month. We will showcase two different ways to have eggs for lunch this month. First up is this Simple Egg Sandwich recipe. They key for having eggs at lunch? Hard boil them! When hard boiled, eggs feel more like a lunch food and make for a tasty and nutritious sandwich base.
What are the health benefits of eggs? To start, eggs are packed full of protein. One egg has 12% of the daily recommended amount of protein. They are a great way to add more protein to your diet, especially if you are a vegetarian. If you can, choose eggs with added omega 3 fatty acids. You can easily find these eggs at the supermarket, just look for “omega 3” on the label. Omega 3 eggs taste just like regular eggs. The only difference is that the hens who laid these eggs have been given a diet with flaxseeds. The omega 3’s in the flaxseeds are then transferred to the egg yolk, so when we eat them we can get the health benefits.
When making this Simple Egg Sandwich recipe, consider hard boiling up a batch of eggs in advance, since that is the most time consuming part of this recipe. You can store hard boiled eggs in the refrigerator and simply peel off the shell and slice them when you are ready to assemble your sandwich.
To hard boil the eggs, use a small pot to boil just enough water to cover the eggs. Carefully (we use a spoon) add the eggs to the boiling water and cook for 12 minutes. Let cool then peel.
Slice the eggs into thin slices, then top one piece of toast with them.
Add the tomato slices, chive, spinach and cheese on top of the egg. Season with salt and pepper then top with the other piece of toast to complete the sandwich.
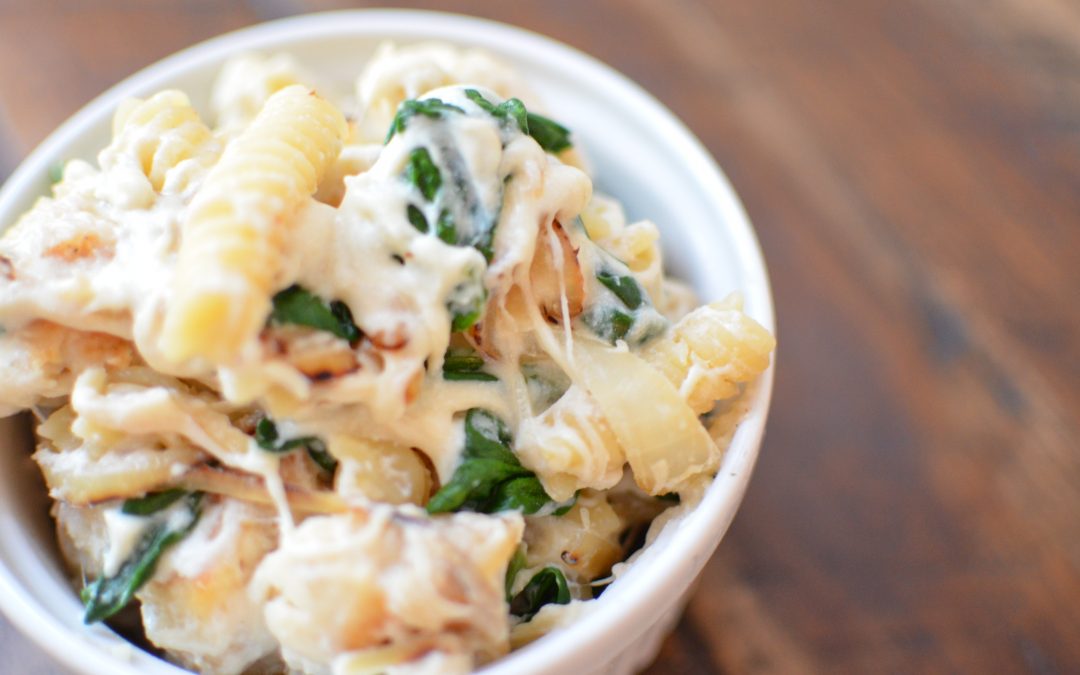
Who doesn’t love the combination of pasta and cheese? Think of this recipe like a grown up, healthier version of macaroni and cheese for adults. Our recipe for Cheesy Pasta with Spinach and Chicken loads up on vegetables. This means it provides healthy vitamins and minerals too especially from the spinach (a May Foods of the Month).
In this recipe, we use ricotta cheese, mozzarella, and a little bit of parmesan. Be sure to use reduced-fat ricotta and mozzarella. To balance out the cheesiness, we add a whole onion, as well as a whole package of spinach, plus three chicken breasts. This means that a serving of this Cheesy Pasta with Spinach and Chicken is a complete meal. We know that the reduced-fat cheeses provide important calcium to keep bones healthy. The chicken is full of protein. The onion and spinach are important vegetables that provide lots of Vitamin C and Vitamin A. Spinach is also responsible for a healthy serving of iron and fiber. And, let’s not forget that the whole grain pasta is full of fiber too!
If you love the flavor combination of spinach and ricotta, this recipe is right up your alley. The caramelized onion gives it a smoky flavor as well. We think it’s the perfect blending of flavors that everyone will enjoy!
1 5 oz. package fresh spinach (organic if possible)
1 yellow onion, sliced thin
1 tbsp. extra virgin olive oil
3 chicken breasts, chopped into small pieces
1 15 oz. package part-skim ricotta cheese
1 8 oz. package part-skim mozzarella cheese, shredded
1/4 cup parmesan cheese
Salt and pepper, to taste
Instructions
Bring a large pot of water to boil and cook the pasta according to directions.
Once the pasta has finished cooking, drain. Add the fresh spinach leaves to the bottom of the pasta pot, then add the hot pasta over the spinach and cover. The heat from the pasta will allow the spinach to wilt while you cook the rest of the ingredients.
Use a nonstick skillet on medium heat to cook the onion in the olive oil for about 10 minutes, until it begins to brown. Remove onion from skillet and place in a large mixing bowl.
Cook the chicken in the same skillet that you used for the onion for about 10 minutes, until no pink remains. Remove from heat and let cool.
Add the ricotta, mozzarella and parmesan cheese to the bowl with the caramelized onions. Mix together until all ingredients are combined.
Add the cheese and onion mixture to the pasta and spinach. Mix well to combine. Add the chicken and mix again.
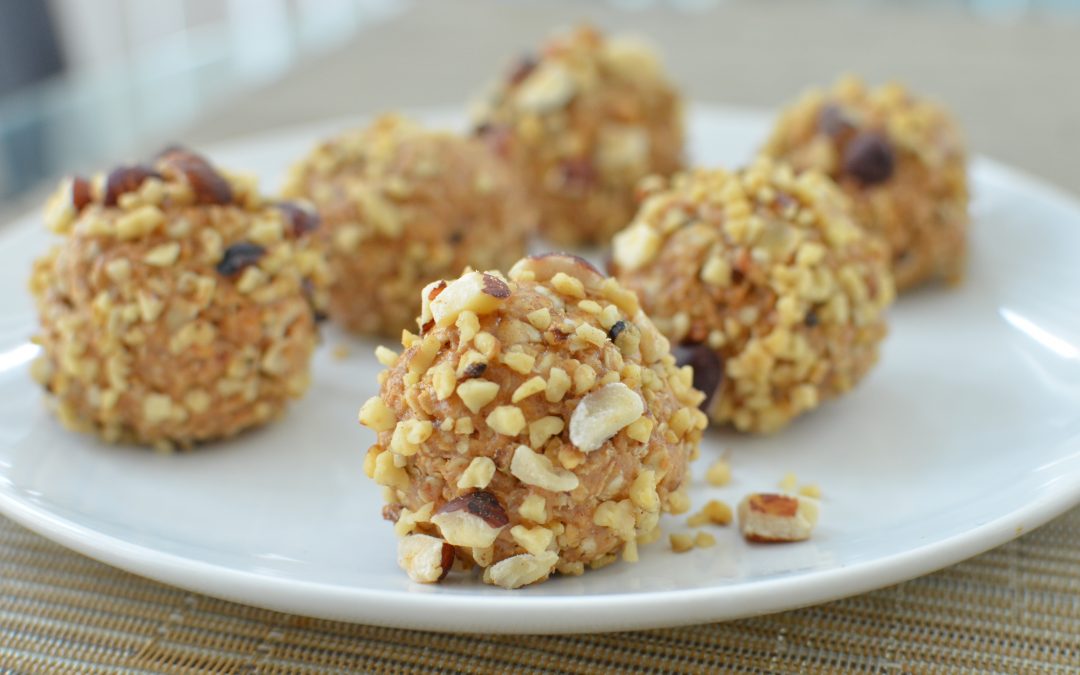
We love the versatility of nuts! There are so many different ways to cook with nuts, especially if you are a vegetarian or vegan, nuts are an excellent way to get protein into your diet. Nuts can be added to salads instead of croutons, used as a breading for chicken instead of breadcrumbs… the possibilities are endless. We love this recipe for Energy Nut Balls because they are a fun way to snack with nuts.
Nuts are an April Foods of the Month. Nuts include things like peanuts, cashews, walnuts, almonds, macadamia nuts, and pistachios. This Energy Nut Balls recipe uses peanuts, but you can get creative and add others if you wish. However, remember that when cooking with or eating nuts, moderation is key. Because they are high in fat, enjoy nuts as a treat vs. a regular snack. One serving size of nuts its usually about 1/4 of a cup. Expect to find about 180 calories and 15 grams of (good!) fat in this same serving. The great news is that the fat in nuts is the healthy, heart friendly kind (monounsaturated and polyunsaturated fat).
For this Energy Nut Balls recipe, keep this serving size suggestion in mind. Limit yourself to one of these energy balls per day to keep you feeling full while also providing your body with good nutrition.


 Save Recipe
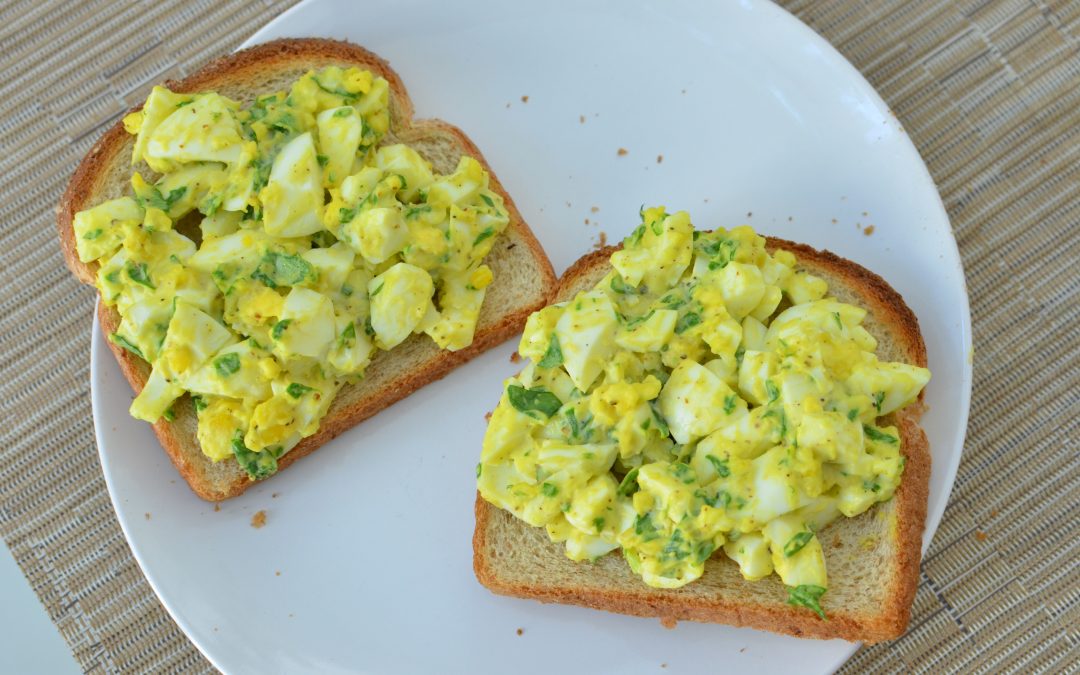

