by admin | Dec 4, 2015 | Grown Up

It’s that time of year where holiday parties seem to be everywhere. There’s the office holiday party, the kids’ holiday parties, the friends’ holiday party, and everything in between. While the parties are a wonderful time to celebrate with friends, family, and coworkers, they can be an absolute nightmare as you look to continue your healthy eating goals throughout the end of the year and into 2016. However, if you stick to the tips below, holiday parties can be another way to meet your healthy eating goals and leave you with tons of energy for the entire holiday season.
- It’s OKAY to eat “bad” food – Why? Because there is no such thing as bad food and I guarantee, if you say absolutely no to “bad” food, at some point, you’re going to give in and gorge on said bad food until your belly is ready to pop. The solution is to eat the “bad” food in moderation and only eat those foods that you really like. If you don’t like apple pie, pass it up but make sure to have a very small portion of your favorite pumpkin pie, and savor every. single, bite.
- Load up on fruits and veggies – Parties provide the perfect opportunity to fill up on fresh fruits and veggies that can be difficult to keep stocked in your own home. Most parties aren’t complete without a fruit and/or vegetable tray so scope it out, fill up half or more of your plate from the fruit and/or veggie tray, and enjoy! A friendly reminder, use the dip sparingly, they tend to be loaded with calories and fat.
- Use a smaller plate – Find the dessert plates and use one as your main plate. A smaller plate will result in smaller portions.
- Say no to seconds – Dish out what you think is an appropriate amount for you to eat at the party then stick to that. Period.
- Hang out away from the food – If you can see and smell the food, you’ll eat more. Find a spot outside of the kitchen and away from the serving areas to call yours for the evening.
- Keep a drink in your hand – It’s difficult to balance a drink and plate while attempting to eat. If you keep a drink in your hand, you’re less likely to pick up random appetizers and food.
- Think your drink – Egg nog and other holiday beverages can be filled with more calories than your favorite dessert. Stick to the low calorie or calorie-free options.
- Eat a small meal before you go – If you go to a party starving, you’ll probably ignore all of these tips and head for the first item you see. Eat a small meal before you go and then pick a few things to snack on during the party.
- Bring a healthy dish – If you want to ensure there is a healthy item that you will enjoy, offer to bring it. Your host(ess) will love you!
- Don’t forget physical activity – How about standing instead of sitting during these parties? Walk around, make new friends. For family-friendly parties, start a game with kids and adults that is physical activity focused. Party at your neighbors? Try walking there instead of driving.
I hope these tips help you as you look to make it through the holiday party season. Remember, it’s okay to splurge every now and again as long as you can quickly get back on track. This time of year is about enjoying our family and friends and sometimes that means eating some of your favorite foods as well!
Happy Holidays!

Today we feature OWG guest blogger and childhood obesity consultant, Melodie Griffin. Melodie’s passion lies in the prevention of childhood obesity through the school and early learning settings. All programs Melodie promotes are fully approved by her home based lab rats, five year old son, Howie, and two year old daughter, Hope. You can connect with Melodie on her Facebook page, WellConnect LLC.
by admin | Nov 13, 2015 | Grown Up

Two weeks ago, my in-laws visited for the weekend. It was a fun weekend full of activities, good food, and lots of giggles from my kids who absolutely love anytime they can get with their grandparents. But between those giggles were a lot of questions from my 4 year-old and 7 year-old, asking about the medicine Grandma and Grandpa had to take with each meal (both of them are insulin dependent Type-2 diabetics).
It can be difficult to explain diabetes to young children because they tend to focus on what’s wrong, not on how much we have in common. What seemed to help my kids, as they desperately wanted to know what was going on with Grandma and Grandpa, was a simple explanation about how they need help (insulin) for their body to use energy (food). Oversimplified, yes. Did it do the job? I think so.
With obesity still on the rise, more children, and therefore, more of their friends, are being diagnosed with Type 2 diabetes. As a result, for the first time as a family, we are observing American Diabetes Month and International Diabetes Day. It gives us the opportunity to talk openly about diabetes, what it means for their friends and family, and how they might be able to help. It’s also a really great opportunity to explain that we have more in common than not with those with diabetes. We all need to focus on how we can eat better, move more, and in general, take better care of our bodies.
Tomorrow, while we’re enjoying our Saturday (which also happens to be International Diabetes Day), we’re going to build and then participate in a mini backyard Olympics and cook a healthy family dinner together. Yes, these are everyday healthy activities, but that’s what this day and month is all about. We need to help our children better understand that a healthy lifestyle, where they move more and eat better, can be the fun and easy choice. When it becomes a regular part of their lifestyle, their chance of developing Type 2 diabetes is decreased.
We’ll also talk more about Grandma and Grandpa, and how we might be able to help them as they try to be their healthiest while they are taking medicine (insulin) to keep them healthy. We’ll discuss how similar they are to us and how some of the things we like to do may be good activities to do with Grandma and Grandpa next time we see them.
I hope you take a few minutes out of your day tomorrow to help your family move more and eat better. Congratulations, you’re raising diabetes awareness and officially participating in International Diabetes Day and American Diabetes Month.
You can also get helpful diabetes awareness resources for kids from The OrganWise Guys!
Today we feature OWG guest blogger and childhood obesity consultant, Melodie Griffin. Melodie’s passion lies in the prevention of childhood obesity through the school and early learning settings. All programs Melodie promotes are fully approved by her home based lab rats, five year old son, Howie, and two year old daughter, Hope. You can connect with Melodie on her Facebook page, WellConnect LLC.
by admin | Nov 10, 2015 | Educator, Grown Up
Today we continue our gardening series with Dr. Mary Ball, PhD, who after a 40-year career as a college biology professor, became a Tennessee Master Gardener and enjoys gardening with kids. Dr. Ball has helped secure funding for gardening, nutrition education, and hundreds of dollars worth of donated seeds to schools and afterschool programs in rural East Tennessee.
It’s a great time to learn about growing veggie seedlings indoors. Microgreens are tasty nutritious little seedlings you grow and eat at a very young state, offering the advantages of quicker harvests and of textures, colors, and flavors that differ from the harvests you expect to get by growing the seedlings to maturity.
Here are 5 tips for growing “microgreens” indoors:
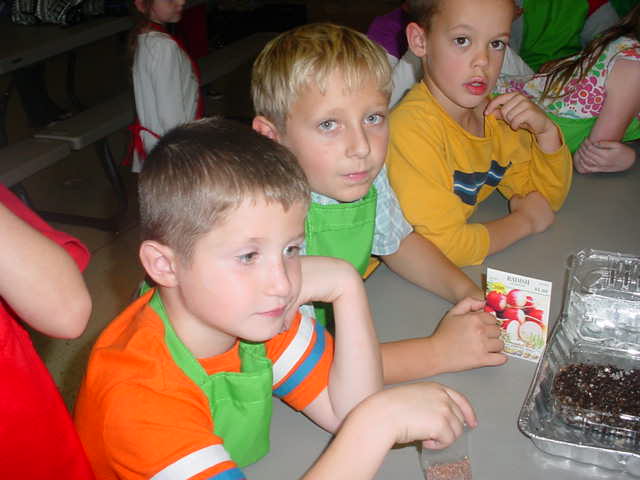
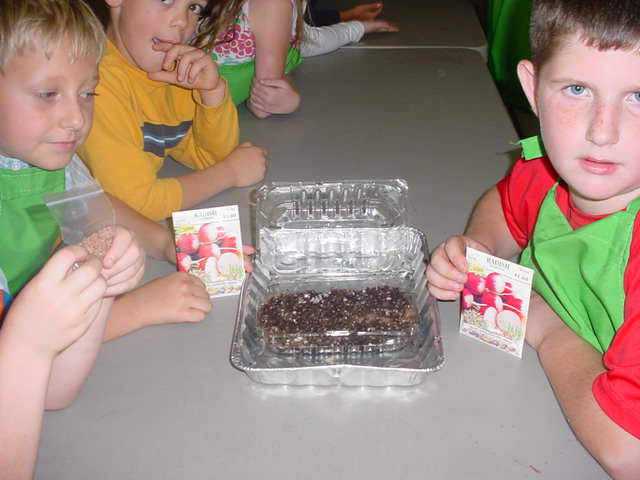
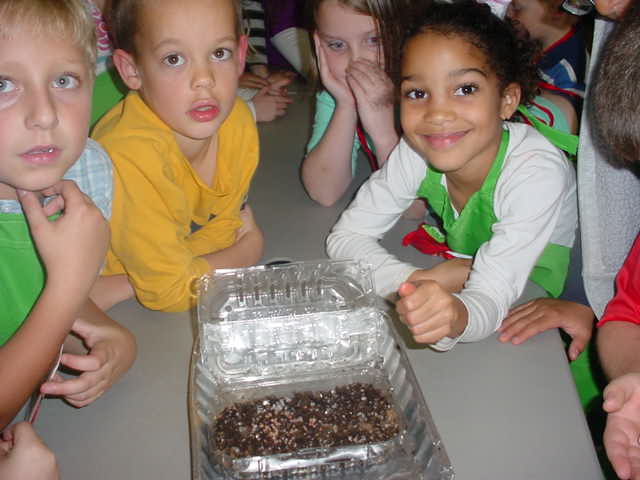
- You can buy Microgreen Growing Kits, but you can try out this gardening method with just a packet of seeds (expired are OK), a shallow plastic “clamshell” container (like one that held blueberries), and some seed starter mix.
- Start out using seeds that germinate easily and grow quickly. These include amaranth, beet, cabbage, kale, kohlrabi, mizuna, mustard, or radish. Sow them thickly over damp seed starter mix. Microgreens are ready for harvest when they reach the “true leaf” stage (at least one pair of leaves have grown in addition to the first pair of so-called “seed leaves,” usually when seedlings are about 2 in. tall. Time from sowing to harvest varies by crop (generally from 7 to 21 days). Use scissors to cut the stems off just above the surface. Try sprinkling some on cream-cheese-covered crackers as a tasty snack, or add them to soups and salads.
- To avoid the dangers of contamination that may occur when growing “sprouts” (by just repeatedly rinsing seeds in a cloth-covered canning jar, for example), water the seedlings “from the bottom.” This means planting in trays with drainage holes and watering if needed by setting these trays briefly into ones without drainage holes.
- There is no official definition of “microgreens” but seed companies are beginning to list suggested seeds for “microgreens,” ones to harvest as “babies,” or as “teenagers,” in addition to “mixes” of seeds for microgreens, for stir fry, and for “cut and come again” (a harvesting method in which inner leaves are left to keep growing). So enjoy browsing online seed catalogs for these words to find other types of greens to explore!!!
- For evidence-based advice, contact a state extension service for articles such as the one from the New Hampshire Extension Service entitled Growing Microgreens in Your Home and one from the Florida Extension Service entitled Microgreens: A New Specialty Crop. (My advice today comes from the Tennessee Extension Service that was shared at my last monthly meeting of master gardeners.)
Kids and first-time gardeners can learn a lot about growing plants from seeds by keeping a Microgreen Gardener’s Journal, recording drawings, photos, measurements, and other details. What a great way to keep them involved throughout the growing process!
by admin | Oct 13, 2015 | Educator, Grown Up
Today we continue our gardening series with Dr. Mary Ball, PhD, who after a 40-year career as a college biology professor, became a Tennessee Master Gardener and enjoys gardening with kids. Dr. Ball has helped secure funding for gardening, nutrition education, and hundreds of dollars worth of donated seeds to schools and afterschool programs in rural East Tennessee.
![2015 October - Mary Ball - Building a Low Tunnel Season Extender[1]](https://blog.organwiseguys.com/wp-content/uploads/2015/10/2015-October-Mary-Ball-Building-a-Low-Tunnel-Season-Extender1.jpg)
“Bed Covers” (also called “Season Extenders” and “Low Tunnels”) are easy and fun to make and really do work to keep plants protected on cold Fall nights!
If you haven’t already had an overnight freeze, you may still have some vegetable plants you can protect to extend their production. Dr. Mary Ball is here with 5 ways to protect your garden from a winter freeze.
Here’s what to do before a “frost” or “hard freeze” occurs:
- Survey Your Garden for Warm Spots and Cold Spots – Your own property temperatures can differ from those predicted for your community or even those of your neighbors. A raised bed near a south-facing brick wall may stay above freezing, while a bed in a “valley” in your yard may experience colder air. Plants in containers lose heat more rapidly, so consider moving them indoors or into a garage or “backyard greenhouse.”
- Don’t worry about frost-tolerant plants – According to Horticulture Magazine, vegetables that can survive light frosts (30 – 32 ̊F range) include beets, Chinese cabbage, cauliflower, celery, collards, green onions, potatoes, lettuce, mustard, parsnips, radishes, salsify, spinach, and Swiss chard. Ones that can survive temperatures as low as 20 ̊F before being killed include broccoli, brussels sprouts, cabbage, carrots, kale, leeks, rutabagas, and turnips.
- Harvest vulnerable produce early – Pick all remaining tomatoes and let them finish ripening indoors. Pick remaining basil, beans, cucumbers, eggplant, hot peppers, and sweet peppers and use them in recipes calling for “baby ____!”
- Trap warm air to keep plants warm – To save tomato and pepper plants that are still producing, use a milk jug or 2-liter bottle with the bottom cut off to trap warm air close to the plant overnight. You can also cover a DIY frame made using bent PVC pipes and metal “hoops” with garden fabric. (Avoid plastic sheeting because sunshine can heat the plant too much.)
- Use warm water to keep plants warm – For a single cold night, use milk jugs filled with hot water to “circle” the plant. For a predicted string of cold nights, wrap water-filled jugs in black plastic so they will reheat more on sunny days.
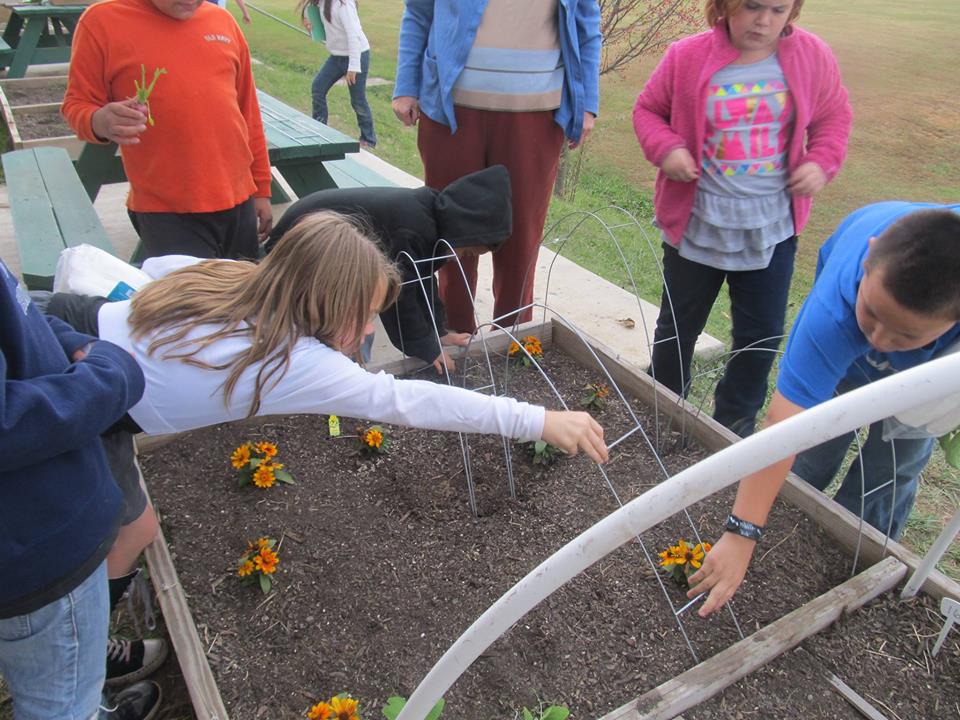
Fall flowers add color to a bare bed and can be used to test how well DIY “season extenders” work.
by admin | Sep 22, 2015 | Educator, Grown Up
Today we continue our gardening series with Dr. Mary Ball, PhD, who after a 40-year career as a college biology professor, became a Tennessee Master Gardener and enjoys gardening with kids. Dr. Ball has helped secure funding for gardening, nutrition education, and hundreds of dollars worth of donated seeds to schools and afterschool programs in rural East Tennessee.
Recently, when we harvested eggplants, peppers, and tomatoes in our Boys and Girls Club Garden on our Club Kids thought the little striped fruit was a watermelon. They were disappointed to learn it’s a “Poquito Zucchini Squash” and the conversation turned to “What can we still plant and harvest this year? Pumpkins? Watermelons?”
Pumpkin plants aren’t for sale right now and a seed catalog says pumpkins take about 100 days to mature, so to have some in time for Halloween, we would need to have planted them in June! Watermelons mature faster, in about 80 days, but these formerly-African plants can’t tolerate any cold, so it’s too late for them, too.
Many folks have the idea that, after we have our first freeze (in October here in East Tennessee), it’s time to pull out all the dead garden plants, have bare beds until next Spring, and wait for our harvests to begin again in the summer. But only some veggies, like tomatoes, will be killed by the frost and have to be replanted in the spring for next summer.
Here are three helpful September gardening tips:
When veggie plants die, don’t remove them and leave the soil bare.
- Bare soil can blow away or be washed away! Instead, plant something else (to harvest for eating, or as a cover crop*), or spread a decayable mulch, like straw, over the soil.
Next year, include veggies that will continue to grow outside beyond the first frost.
Try the beautiful and tasty “Swiss Chard,” and plant veggies in containers you can move indoors or into a “backyard greenhouse” to extend* the growing season beyond the first frost.
Use “days to maturity” info on the veggies to see recommendations in your area.
For example, radishes mature so quickly that we can still start those now, and we can plant them in among the things that are already in our garden. Here’s a fun idea: Each Spring, first graders in Charlottesville, Virginia, compete to grow peas and have the First Peas to the Table. Now would be a good time to plan a similar contest among classes at schools in your community!
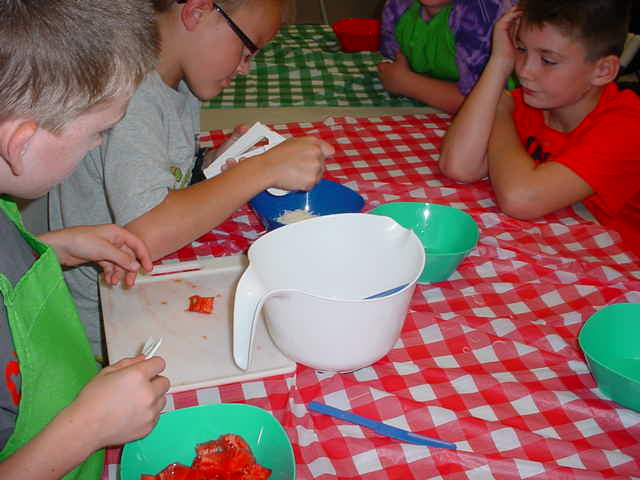
One last tidbit – We learned to cut up our tomatoes using plastic knives, holding the tomato still with a “Corncob Holder.” We grated cheese and created a fresh pasta dish. Yum!
*Look for upcoming posts on cover crops and DIY Season extenders.