by admin | Dec 22, 2015 | Educator
Today we continue our gardening series with Dr. Mary Ball, PhD, who after a 40-year career as a college biology professor, became a Tennessee Master Gardener and enjoys gardening with kids. Dr. Ball has helped secure funding for gardening, nutrition education, and hundreds of dollars worth of donated seeds to schools and afterschool programs in rural East Tennessee.
Many people have never eaten beets, much less grown them, but they are both nutritious and easy to grow! In the process of growing beets, both kids and “newbie” gardeners can learn a lot that they can use in growing other veggies.
Here are some helpful lessons for growing beets:
Lesson #1: Get to know each of your veggies – their cold and heat tolerance, soil depth needed, how to know when they are ready to pick, when they reach their peak of flavor, and how available “varieties” differ. (Tip: Learn to read seed packages in detail!)
- You can grow beets earlier in the Spring and later in the Fall than most veggies because beets can tolerate a light frost.
- Beets can be fun for kids to grow because the seeds (actually seed clusters) are big enough for them to hold and to practice spacing them out. But multiple plants can grow from one seed cluster, so thinning is important.
- Beets are sweetest and most tender when harvested at the size of golf balls, so you can grow them in raised beds.
- Several different types of “table beets” can be planted, producing different colors of roots, stems, and even leaf veins!
Lesson #2: Plan ahead for crop rotation – wait at least 3 years before replanting families in the same place so that insect lifecycles are disrupted, soil-borne diseases don’t build up, and weeds don’t become established.
- Beets are in the same family with Swiss Chard (which is sort of a beet with no bulb) and Spinach. So plant these together but plan to alternate their location among 3 different beds on years 1, 2, and 3.
Lesson #3: Plan ahead for harvesting and preparing your harvest.
- Judge the size of the root by looking at the “shoulders” that stick up above the ground. Harvest when golf ball size.
- All parts of the plants are edible and the root can be stored and prepared in many different ways!
Lesson #4: Collect and share “recipes” for creative ways to use the harvest to minimize “waste.”
- After the beets sprout, “thin them” to 1” apart by cutting off the leaves, repeating daily until the remaining plants are 3” apart. The cut-off “greens” can be eaten raw or used in any recipe in place of spinach or chard. Beet greens taste slightly sweet, and are high in potassium, calcium, and vitamin A.
- A search for ways to use beet roots and beet greens as ingredients will yield lots of ways for gardeners and cooks to use them!!
- Even peelings and scraps of these and other veggies can be used to create “paints” and “stampers.” (Red beet juice makes a good dye for wool yarn.) Try applying the paints/dyes to different materials and types of paper!!
Good luck and enjoy!
by admin | Nov 10, 2015 | Educator, Grown Up
Today we continue our gardening series with Dr. Mary Ball, PhD, who after a 40-year career as a college biology professor, became a Tennessee Master Gardener and enjoys gardening with kids. Dr. Ball has helped secure funding for gardening, nutrition education, and hundreds of dollars worth of donated seeds to schools and afterschool programs in rural East Tennessee.
It’s a great time to learn about growing veggie seedlings indoors. Microgreens are tasty nutritious little seedlings you grow and eat at a very young state, offering the advantages of quicker harvests and of textures, colors, and flavors that differ from the harvests you expect to get by growing the seedlings to maturity.
Here are 5 tips for growing “microgreens” indoors:
- You can buy Microgreen Growing Kits, but you can try out this gardening method with just a packet of seeds (expired are OK), a shallow plastic “clamshell” container (like one that held blueberries), and some seed starter mix.
- Start out using seeds that germinate easily and grow quickly. These include amaranth, beet, cabbage, kale, kohlrabi, mizuna, mustard, or radish. Sow them thickly over damp seed starter mix. Microgreens are ready for harvest when they reach the “true leaf” stage (at least one pair of leaves have grown in addition to the first pair of so-called “seed leaves,” usually when seedlings are about 2 in. tall. Time from sowing to harvest varies by crop (generally from 7 to 21 days). Use scissors to cut the stems off just above the surface. Try sprinkling some on cream-cheese-covered crackers as a tasty snack, or add them to soups and salads.
- To avoid the dangers of contamination that may occur when growing “sprouts” (by just repeatedly rinsing seeds in a cloth-covered canning jar, for example), water the seedlings “from the bottom.” This means planting in trays with drainage holes and watering if needed by setting these trays briefly into ones without drainage holes.
- There is no official definition of “microgreens” but seed companies are beginning to list suggested seeds for “microgreens,” ones to harvest as “babies,” or as “teenagers,” in addition to “mixes” of seeds for microgreens, for stir fry, and for “cut and come again” (a harvesting method in which inner leaves are left to keep growing). So enjoy browsing online seed catalogs for these words to find other types of greens to explore!!!
- For evidence-based advice, contact a state extension service for articles such as the one from the New Hampshire Extension Service entitled Growing Microgreens in Your Home and one from the Florida Extension Service entitled Microgreens: A New Specialty Crop. (My advice today comes from the Tennessee Extension Service that was shared at my last monthly meeting of master gardeners.)
Kids and first-time gardeners can learn a lot about growing plants from seeds by keeping a Microgreen Gardener’s Journal, recording drawings, photos, measurements, and other details. What a great way to keep them involved throughout the growing process!
by admin | Oct 13, 2015 | Educator, Grown Up
Today we continue our gardening series with Dr. Mary Ball, PhD, who after a 40-year career as a college biology professor, became a Tennessee Master Gardener and enjoys gardening with kids. Dr. Ball has helped secure funding for gardening, nutrition education, and hundreds of dollars worth of donated seeds to schools and afterschool programs in rural East Tennessee.
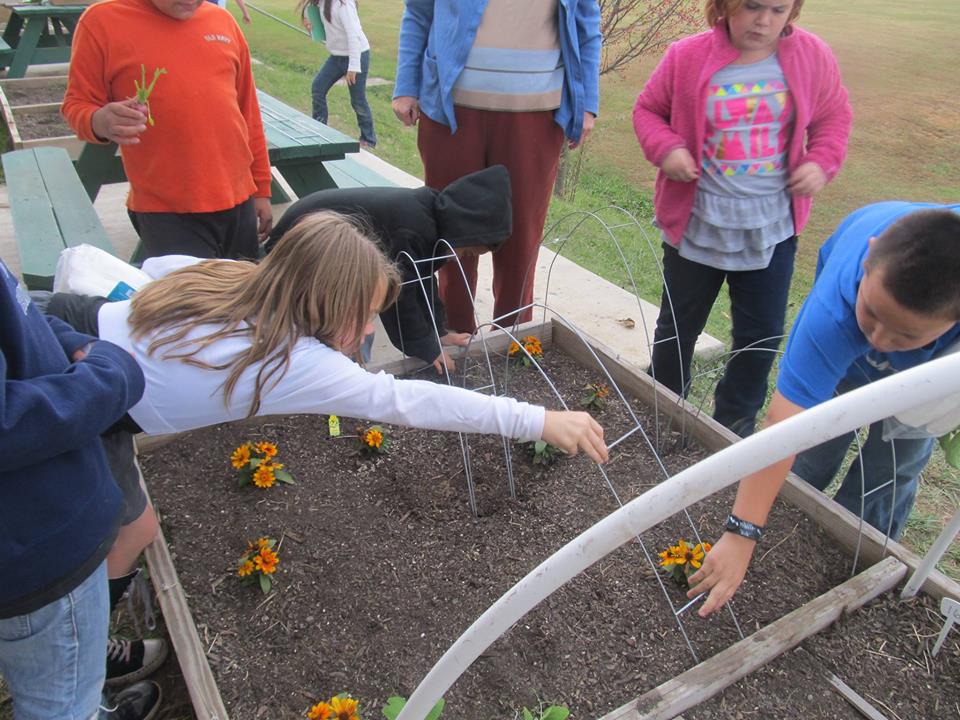
![2015 October - Mary Ball - Building a Low Tunnel Season Extender[1]](https://blog.organwiseguys.com/wp-content/uploads/2015/10/2015-October-Mary-Ball-Building-a-Low-Tunnel-Season-Extender1.jpg)
“Bed Covers” (also called “Season Extenders” and “Low Tunnels”) are easy and fun to make and really do work to keep plants protected on cold Fall nights!
If you haven’t already had an overnight freeze, you may still have some vegetable plants you can protect to extend their production. Dr. Mary Ball is here with 5 ways to protect your garden from a winter freeze.
Here’s what to do before a “frost” or “hard freeze” occurs:
- Survey Your Garden for Warm Spots and Cold Spots – Your own property temperatures can differ from those predicted for your community or even those of your neighbors. A raised bed near a south-facing brick wall may stay above freezing, while a bed in a “valley” in your yard may experience colder air. Plants in containers lose heat more rapidly, so consider moving them indoors or into a garage or “backyard greenhouse.”
- Don’t worry about frost-tolerant plants – According to Horticulture Magazine, vegetables that can survive light frosts (30 – 32 ̊F range) include beets, Chinese cabbage, cauliflower, celery, collards, green onions, potatoes, lettuce, mustard, parsnips, radishes, salsify, spinach, and Swiss chard. Ones that can survive temperatures as low as 20 ̊F before being killed include broccoli, brussels sprouts, cabbage, carrots, kale, leeks, rutabagas, and turnips.
- Harvest vulnerable produce early – Pick all remaining tomatoes and let them finish ripening indoors. Pick remaining basil, beans, cucumbers, eggplant, hot peppers, and sweet peppers and use them in recipes calling for “baby ____!”
- Trap warm air to keep plants warm – To save tomato and pepper plants that are still producing, use a milk jug or 2-liter bottle with the bottom cut off to trap warm air close to the plant overnight. You can also cover a DIY frame made using bent PVC pipes and metal “hoops” with garden fabric. (Avoid plastic sheeting because sunshine can heat the plant too much.)
- Use warm water to keep plants warm – For a single cold night, use milk jugs filled with hot water to “circle” the plant. For a predicted string of cold nights, wrap water-filled jugs in black plastic so they will reheat more on sunny days.
Fall flowers add color to a bare bed and can be used to test how well DIY “season extenders” work.
by admin | Sep 22, 2015 | Educator, Grown Up
Today we continue our gardening series with Dr. Mary Ball, PhD, who after a 40-year career as a college biology professor, became a Tennessee Master Gardener and enjoys gardening with kids. Dr. Ball has helped secure funding for gardening, nutrition education, and hundreds of dollars worth of donated seeds to schools and afterschool programs in rural East Tennessee.
Recently, when we harvested eggplants, peppers, and tomatoes in our Boys and Girls Club Garden on our Club Kids thought the little striped fruit was a watermelon. They were disappointed to learn it’s a “Poquito Zucchini Squash” and the conversation turned to “What can we still plant and harvest this year? Pumpkins? Watermelons?”
Pumpkin plants aren’t for sale right now and a seed catalog says pumpkins take about 100 days to mature, so to have some in time for Halloween, we would need to have planted them in June! Watermelons mature faster, in about 80 days, but these formerly-African plants can’t tolerate any cold, so it’s too late for them, too.
Many folks have the idea that, after we have our first freeze (in October here in East Tennessee), it’s time to pull out all the dead garden plants, have bare beds until next Spring, and wait for our harvests to begin again in the summer. But only some veggies, like tomatoes, will be killed by the frost and have to be replanted in the spring for next summer.
Here are three helpful September gardening tips:
When veggie plants die, don’t remove them and leave the soil bare.
- Bare soil can blow away or be washed away! Instead, plant something else (to harvest for eating, or as a cover crop*), or spread a decayable mulch, like straw, over the soil.
Next year, include veggies that will continue to grow outside beyond the first frost.
Try the beautiful and tasty “Swiss Chard,” and plant veggies in containers you can move indoors or into a “backyard greenhouse” to extend* the growing season beyond the first frost.
Use “days to maturity” info on the veggies to see recommendations in your area.
For example, radishes mature so quickly that we can still start those now, and we can plant them in among the things that are already in our garden. Here’s a fun idea: Each Spring, first graders in Charlottesville, Virginia, compete to grow peas and have the First Peas to the Table. Now would be a good time to plan a similar contest among classes at schools in your community!
One last tidbit – We learned to cut up our tomatoes using plastic knives, holding the tomato still with a “Corncob Holder.” We grated cheese and created a fresh pasta dish. Yum!
*Look for upcoming posts on cover crops and DIY Season extenders.
by admin | Aug 11, 2015 | Grown Up
 Today, we are talking edible gardening, as we kick off a gardening series by Dr. Mary Ball, PhD, who after a 40-year career as a college biology professor, became a Tennessee Master Gardener and enjoys gardening with kids. Dr. Ball has helped secure funding for gardening, nutrition education, and hundreds of dollars worth of donated seeds to schools and afterschool programs in rural East Tennessee.
Folks who have never gardened before often think that Spring is the only time to plant a vegetable garden! And folks who have less-than-fond memories of hours spent in a hot kitchen “putting up” the fruits of back-breaking labor, have often given up on gardening the “old-fashioned way”.
The good news is that tasty produce of one sort or another can be grown virtually anytime of the year with minimal effort and with little garden space. Below are three gardening ideas that can be started just about any time of year, involve growing methods that can be applied to many other vegetables, and that promote using home-grown (or school-grown) veggies creatively in healthy recipes.
Grow an Herb Garden
Grow herbs in containers, either inside or outdoors, to use in seasoning your cooking or in fresh salads and dressings. You can easily start many of these from seeds, but take advantage of free cuttings and plant sales held by herb enthusiasts in your community! (See the Herb Society of America’s Facebook page for lots of interesting information.)
Start a Mesclun-Mix Garden
“Mesclun” means “mixture” in French, and the term was coined many years ago to refer to mixtures of greens that were often grown together to create a salad.
With a “raised bed” measuring 2′ X 2′ by 8 inches high and filled with 2 cubic feet of potting soil, a Mesclun Garden can be easily sown from seeds, creating your own mix or using one created by a seed company. Beginning as little as 3 weeks later, individual leaves or entire plantlets can be cut, with enough leaf tissue being left behind to continue growing, providing other “harvests” at 3-4-week intervals. This harvesting method is called “Cut and come again.”
Nowadays, the possible combinations of different leafy greens, the variety of “dressings,” and the additional salad ingredients to add are virtually endless! You can also purchase or create seed combinations to yield greens for “stir-fry” recipes. These are called “braising mixes” rather than “salad mixes.”
Grow an Under-Appreciated Cool-Season Veggie
Fresh spinach is nutritious and tasty. Spinach grows well in Spring or in the Fall, but under summer conditions of long, warm days, it devotes its energy to flowering rather than producing tender large leaves. This is called “bolting.”
Download a Spinach Lane booklet that guides preschoolers to experience the look, feel, smell, and taste of spinach leaves. You can start a Spinach Garden by directly planting seeds just about any time except in the heat of summer.
Check back next month, where we’ll talk about how to make sure that your timing will “work”.